
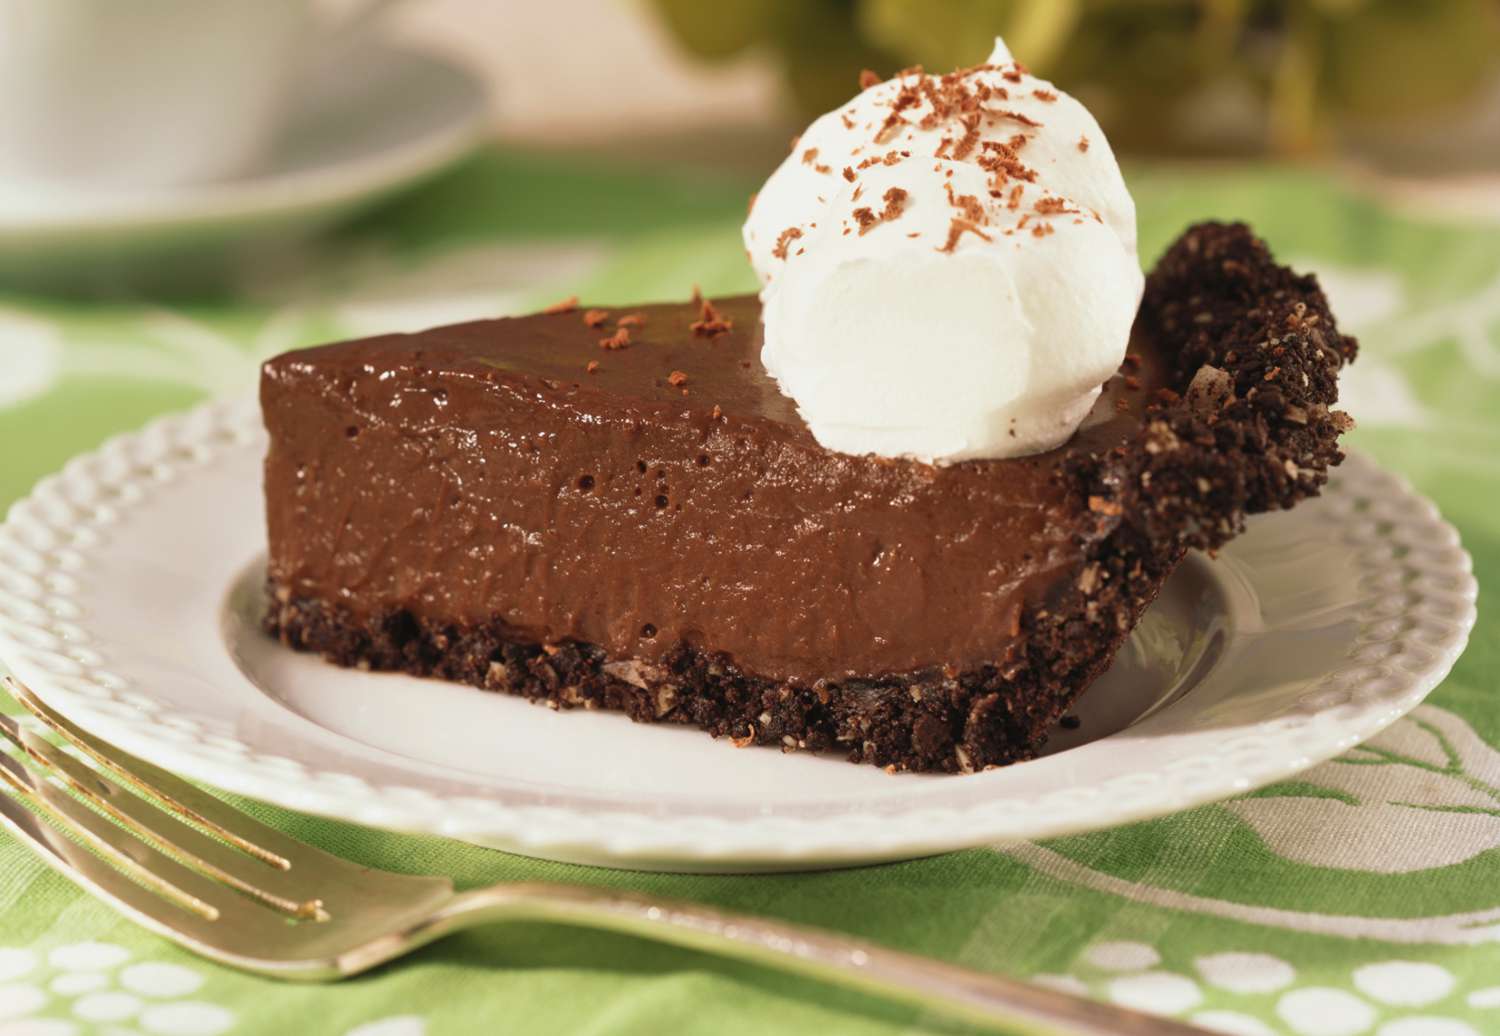
You know the feeling of your fork gliding effortlessly into a slice of chocolate cream pie, the smooth filling collapsing gently into itself. You take a bite, and it melts on your tongue, rich and velvety. It’s not just dessert it’s an experience.
But have you ever paused to wonder why some chocolate cream pies have that luxuriously creamy texture, while others turn out grainy, rubbery, or flat?
Understanding the science behind that smooth filling can help home bakers perfect their recipes and deepen their appreciation for what really goes on inside that chilled pie dish. From the delicate balance of eggs and dairy to the role of heat and starch, every component has a job to do.
In this article, we’re going to explore exactly what makes chocolate cream pie so irresistibly creamy and how you can replicate that success every time.
Key Takeaways: What You’ll Learn
- The role of eggs, fat, chocolate, and starch in creating a creamy texture
- Why temperature control is crucial during cooking
- Common mistakes that affect texture (and how to avoid them)
- Simple techniques to improve your chocolate cream pie results
What Does “Creamy” Really Mean?
Creaminess is more than a taste—it’s a sensation. It describes a smooth, rich mouthfeel with no lumps, grittiness, or airiness. Creamy foods often have enough fat to coat the mouth and a dense consistency without being heavy.
In a chocolate cream pie, creaminess means a custard-like filling that holds its shape when sliced but still melts smoothly on the tongue. It’s the product of both careful chemistry and intentional technique.
How Each Ingredient Affects Texture?
1. Chocolate: The Foundation of Flavor and Feel
The star of the pie is chocolate, and its quality can make or break the final texture. Chocolate contains cocoa butter, a type of fat that melts just below body temperature. That’s why it feels so indulgent and smooth in the mouth.
For the best results:
- Use high-quality baking chocolate with at least 60% cocoa solids
- Avoid chocolate chips, which often contain stabilizers that don’t melt as smoothly
- Melt chocolate slowly and gently to prevent separation or seizing
- The cocoa butter helps carry the other flavors and contributes to the silky sensation that defines a good cream pie.
2. Dairy: The Liquid Richness
Milk and cream are essential for building the custard base. They provide water, proteins (casein and whey), and fat—all of which interact during cooking.
- Whole milk or heavy cream adds richness
- Dairy fat coats your palate, reducing friction and enhancing smoothness
- Casein proteins help form a creamy, gel-like network when heated
This also applies to ice cream, where toppings and creaminess go hand in hand. If you’re a dessert enthusiast, you might also enjoy exploring Unique And Delicious Toppings To Elevate Your Vanilla Ice Cream Cup Game a fun way to experiment with texture in other sweet treats.
3. Eggs: Nature’s Emulsifier
Egg yolks contain lecithin, a natural emulsifier that helps fat and water blend smoothly. They also add proteins that thicken when heated, transforming a liquid base into a firm but creamy custard.
Here’s how to handle eggs correctly:
- Temper your eggs by slowly whisking in hot milk to avoid scrambling
- Stir constantly over gentle heat to control the thickening process
- Don’t overcook—too much heat causes the proteins to tighten too much, resulting in curdled or rubbery filling
- Eggs are crucial in creating that tender but stable consistency we love.
4. Sugar: Not Just for Sweetness
- Sugar does more than just sweeten your pie. It also:
- Helps retain moisture
- Interferes with protein coagulation (making texture smoother)
- Affects how starch thickens
- Using the right amount of sugar helps balance the texture and flavor—too little can make the filling taste bitter or feel too stiff.
5. Starch: The Thickening Power
Most chocolate cream pie recipes call for cornstarch, which thickens the custard during cooking. When heated with liquid, cornstarch granules swell and absorb moisture, creating a gel-like texture.
Tips for starch success:
- Mix starch with cold liquid before adding to hot mixtures to avoid lumps
- Cook long enough to eliminate the raw starch taste (usually 1–2 minutes after boiling)
- Don’t add too much—excess starch can lead to a pasty or chalky texture
- Starch is what gives your pie slice the structure to hold its shape while remaining soft and creamy.

How Cooking Techniques Shape Creaminess?
It’s not just the ingredients that matter—it’s how you treat them. Heat can be your best friend or your worst enemy when it comes to making a smooth filling.
The Importance of Temperature Control
Custards rely on a delicate balance: enough heat to thicken, but not so much that eggs scramble or the mixture seizes.
- Use medium-low heat
- Stir constantly and gently with a whisk or spatula
- Watch for signs of doneness: when the mixture coats the back of a spoon, it’s ready
- Overcooking can lead to curdling or a gritty texture while undercooking results in a runny, unset pie.
Emulsification in Action
As you stir and heat your custard, you’re creating an emulsion—a stable mixture of fat and water. Emulsifiers like egg yolks and lecithin help maintain this smooth consistency.
But emulsions are fragile. High heat, vigorous whisking, or skipping the tempering step can cause them to break. A broken emulsion will lead to a separated, grainy filling that’s hard to save.
Tips to Guarantee a Silky Smooth Pie
Creating that picture-perfect pie takes practice, but these techniques make all the difference:
Strain the Custard
Pour your filling through a fine-mesh sieve to remove any tiny lumps or cooked egg bits.
Cool Properly
Cover the surface with plastic wrap to prevent skin formation and chill it thoroughly.
Use Quality Ingredients
Go for real chocolate and full-fat dairy to maximize flavor and texture.
Be Patient
Allow the pie to chill for several hours so it fully sets and becomes sliceable.
Looking for something refreshing to serve on the side? Check out Beverages That Go Well With Vanilla Ice Cream Cups to find complementary drink ideas for your creamy desserts.
Making It a Meal: Balance with Savory Snacks
Too much sweetness can overwhelm your palate. Consider balancing the richness of a chocolate cream pie with a flavorful savory option. Curious about how to do it right? You’ll enjoy reading The Best Dips to Enjoy with Jalapeno Kettle Chips for the perfect contrast.
Final Thoughts: Delicious Texture Starts with Knowledge
The creamy texture of chocolate cream pie isn’t a happy accident—it’s the result of thoughtful ingredient choices, careful heat control, and the right technique. Whether you’re making it from scratch or troubleshooting a previous attempt, understanding the underlying science makes a huge difference.
By using quality ingredients like real chocolate and dairy, properly tempering your eggs, and paying attention to your cooking process, you can create a chocolate cream pie that’s rich, silky, and unforgettable.
FAQ
What gives the chocolate cream pie its creamy texture?
The combination of dairy fat, egg yolks, melted chocolate, and thickened starch gives the pie its smooth, creamy texture. Proper heating and emulsification are key.
Why does my chocolate cream pie turn out grainy?
Graininess is often due to overcooked eggs or chocolate that wasn’t melted properly. Stir constantly over low heat and strain the filling before cooling.
Can I make a creamy pie without eggs?
Yes, but it will require alternative thickeners like cornstarch, gelatin, or agar. The texture may differ slightly, but it’s still possible to achieve creaminess.
How long should chocolate cream pie chill?
Allow it to chill for at least 4 hours, though overnight is ideal. This ensures the custard sets properly and develops the best texture.


